Tuesday, April 22, 2014

Earth Day Recap


Happy Earth Day!  Today we celebrated with a few Earth Day themed activities and I thought I'd share!  There's a lot of pictures in this post so get ready!


Our first activity of the day was a nature walk.  We went to check out the flowers that are blooming and see what kind of animals we could find.  We happened upon a toad!  Natty thought he was so neat hopping along.


Our azaleas are really blooming right now and are so beautiful!  Our cedar pine is also getting new buds and we thought that looked really cool.  While we were on our walk we also found a few pine cones for our next activity!


Next we came inside and made some pine cone bird feeders!  I'm sure most of us did this when we were young.  You just spread some peanut butter on the pine cones and then sprinkle them with bird seed.  Add some ribbon to hang them up and you're good to go!


If you have a little helper, like I do, I really recommend doing this on a sheet or something so clean up is easy!  She also got a little upset that this part of the activity was over so quickly.  She really enjoyed playing with the bird seed.


Ta-da! Once your ribbon is tied on you have a yummy treat that your feathered friends are sure to enjoy.  So now it was time to head outside and find a good place to hang our feeders.


We hung our feeders on a dogwood tree that's close to the house and can be seen from the front windows.  We're hoping to maybe see some birds go after this treat tomorrow!

We also played with bubbles while we were outside hanging these up, which is an activity Natty really enjoys!


Since we're talking about Earth Day, I wanted to share one of Natty's Easter gifts.  She got this super cool Green Toys Tea Set .  I love Green Toys! They are so well made, they're colorful and super fun. Plus they are made in the USA from recycled materials.  You can't get much better than that! Natty has several of their toys.  She has a My First Tugboat for the bath (this gets played with every bath), a Pink and Purple Dump Truck and a pink race car !


Our last activity for the day was to watch an episode from the Planet Earth series.  I love this series.  The scenery and animals are all so beautifully shot.  Natty loves watching shows with animals so I thought she'd enjoy this.  I picked the Jungles episode.  Unfortunately, she has been teething pretty badly and this didn't hold her attention very well and she ended up having a bit of a tantrum.  Overall though she did really good today and enjoyed our Earth Day activities!

I hope everyone had a wonderful Earth Day!  Did you do any fun activities or crafts with your little ones?  I'd love for you to share!

This post contains affiliate links.

Saturday, April 19, 2014

Feb/March Photo Challenge

Since I missed posting last month this will be for both February and March for the photo challenge.  If you missed my post on my 2014 photo challenge, you can view it here.

For February, the challenge was "sweet".  I took this super sweet picture at one of our favorite places, The Virginia Living Museum.  My daughter loved this frog statue and hugged and kissed it.  So sweet!


For march, the challenge was "together". We had a few nice days in March where we were able to get out so this together selfie was taken at the beach!


Picking these photos has been fun!  April's challenge is "Rainbow".  I'm excited about that!  I really need to put some thought into that one.  Have you taken any pictures for the challenge?  Please share if you have!

Wednesday, April 16, 2014

Under The Sea Sensory Bin


I wanted to start sharing some of the sensory activities I'm doing with my little girl.  I haven't been very crafty lately but I have been doing a lot of activities with her.  So here's the first one.  We do a lot of sensory bins.  These are so fun and easy to put together!

Yesterday was a super rainy day and we were cooped up inside.  So I thought we'd make water a theme for the day.  We had lunch with goldfish crackers included and watched The Little Mermaid .  Then we played with this super cool Under The Sea sensory bin.


Here's what I put in the bin:  glass rocks and aquarium gravel as the base, aquarium plants, gems found in fish section, an aquarium castle, some decorate sea shells and various plastic fish/water creatures. Then I added a pitcher full of luke warm water. There was a bunch to explore.  It might have been a bit too much for my 18 month old.  I think next time I will limit it a little more until she's a bit older.


There were lots of textures for her to explore in this bin! She really loved the feel of the plants and their bright colors.


She's in a very loving stage right now! Everything gets hugs and kisses.  So the plants were hugged.  Naturally.


This starfish came with the decorative seashells I had bought.  It was a little basket with a bunch of shells for $2 at Rite-Aid. The only issue was the coloring on the starfish started to come off in the water.  I didn't think about how it was dyed.


She picked up everything and turned it over in her hands. She had a great time playing with all the different elements.


This bin was overall a success.  At the end she did pick up a few of the glass rocks and put them in her mouth which I immediately removed and told her no.  She tried two more times while laughing as I took the stones out of her mouth (3 strikes you're out) and I took the bin away.  She was done with it anyway so she didn't seem to care.

I think this bin will be much better for her when she over 2.  I do think this was a bit ambitious for her at this age, even though she enjoyed it.  I do have some more appropriate activities I'll be posting about later this month though!  So please come back and visit!

This post contains affiliate links.

Wednesday, February 12, 2014

January Photo Challenge

Photo Challenges are pretty popular lately. So last month I decided to come up with my own monthly photo challenge.  You can check out that post here! So for January the challenge was Cold.  That was pretty easy considering how crazy cold it has been lately!  I narrowed it down to two photos.  Here they are!


Beautiful, right?  It's icy and cold and just frozen in time.  I love this shot that my husband took.  It really makes you not feel so bad it's so cold all the time!


Then here's my shot.  My daughter walking around in the snow for the first time.  And you can tell by her face that she is not impressed!  I love snow, but how she looks, that's how I'm feeling today when they are saying there's more on the way.  Enough already!  Let's bring out the swimsuits and sun screen.  Momma needs some sunshine!

Did you take a "cold" photo for January?  I'd love to see it if you did!  And for those playing along, the word for February is - Sweet.

Sunday, February 2, 2014

Making Snow Ice Cream!


Snow!  We had a good bit this week and I made sure to put a big bowl out when it started so that I would have some to make some snow ice cream! There are several different ways you can make it.  You can find a list of recipes here. I really wanted to do the sweetened condensed milk version, but I didn't have any in my pantry.  Next time!


So I took one of the recipes and modified it to my family's tastes.  I used one big bowl of snow, 2 teaspoons of vanilla extract, about 3/4 cup of milk, and 6 tablespoons of sugar. Mix it all up with a spoon. Don't whisk or use a mixer or it will just turn to sludge.


Enjoy!  This was a tasty treat and my daughter loved it.  We'll be sure to try this again the next time it snows.  I'll make sure I have some sweetened condensed milk on hand so I can try that version! 


Hooray for snow ice cream!!

Tuesday, January 28, 2014

Photo Challenge for 2014

I love the idea of all the different photo challenges you can find online.  However, I cannot keep up with a daily or even weekly challenge!  I know there are monthly ones out there but I thought I would try my hand at creating my own challenge.  So here it is!  Let me know if you're going to join me!  I'd love to see others interpretations of these words.

Click to Enlarge!

Tuesday, January 21, 2014

DIY Taggie Blanket


 If your baby is anything like mine then they LOVE anything with tags. You can buy those taggie blankets at the store, but I thought - hey that doesn't look so hard AND I could totally personalize it if I made it myself! So that is what I did my friends and here's how you can too.
 
 The best thing about this is that you can customize it to whatever your little one likes.  My daughter loves Yo Gabba Gabba so that's what I went with for my main theme.  I found the Yo Gabba Gabba fabric on eBay.  I bought it as a fat quarter and that's the size I made my blanket so it's easy for her to carry around.  The purple minky fabric for the back I got at Joann's.

The other items you're going to need are a bunch of ribbon.  This is the fun part because you can use all different colors and styles of ribbon.  You'll also want to have a bunch of pins, a fabric cutter and mat and a sewing machine. I'm sure you could sew this by hand, but I would be totally lost doing that and the machine is so much faster!


First step is to cute your fabric to size on your mat.  It's okay if they aren't totally perfect because you're going to be turning this inside out when we're done sewing so you won't see the rough edges.

Also, if you haven't already, cut up your ribbon into strips.  Make them long enough to be a loop that's sewn in.  I did mine in different lengths because I wanted them to be varied around the blanket.

Now you're going to lay your fabric with the fronts facing each other and pin your ribbon in between them in loops.  The loop should go inside the fabric, so you'll see the ends of the ribbon sticking out and the pins on the back of the fabric like the photo above. 


Here you can see what it looks like if you flip it over.  Pin the ribbon loops all the way around your blanket.

Next it's off to the sewing machine.  I totally forgot to take pictures of these steps but I will talk you through it the best I can.  You're going to sewing around the blanket, taking the pins out as you go to stitch in the ribbon loops. Try to sew in as straight a line as you can. Keep going around until you get to where you have about 2-3 inches left.

Now you're going to take the blanket off the machine.  You should have a 2-3 inch hole and you can get one ribbon loop there.  The next step is to turn the blanket right side out thru your opening.  Then you can put the ribbon loop into place and put the blanket back into the sewing machine.  Sew the hole shut and the last ribbon loop into place.  Continue to go all the way around the blanket one more time on the outside to insure a good secure stitch.


That's it, you're done! You can see my completed blanket right here and my little one loves it.  I'm super happy with how it turned out!  Let me know if you make one and what theme you decide to do!

Monday, September 2, 2013

Catching The Waves

I just got done with the cutest digital scrapbook page so I thought I'd share! Digital scrapping is the only way I've been able to keep up this year and I'm still a little behind.  But I really love how this page turned out so here you go!


I don't know where you all get your digital scrapping supplies, but this is a combination of elements I got over on The Lilypad.  I'm really in love with the artists there! Go check it out. 

That's it for today but be sure to come back because later this week I have an awesome DIY baby taggie blanket to share!

Thursday, August 22, 2013

Pictures On My Pillow!

Today I wanted to do a review of a photo pillow case I made on the York Photo website. I had a coupon code to make a pillowcase for $5 and I hadn't heard of York Photo before so I wanted to given them a shot.


So this is the pillowcase I made and I have to say I was really excited to see it when I opened the package!  The pillowcase itself is a really soft jersey cotton fabric which my daughter loves.  And all of the printed elements look great!

A princess crown with my princess's name!

A Mommy, Daddy and baby owl :)
As far as the process of designing the pillowcase on the York Photo website, I thought it was really easy.  You pick a design template or you can start from scratch.  I picked a template and then I was able to change the background, add text and clip art and drop in my photos.  It really took no time at all and I thought it was really user-friendly.  I was also impressed by the amount of options you had to pick from for backgrounds and clip art.  I've been on other site where the selection is quite limited and I'm happy this was not the case here.

So with my coupon code for $5 and shipping of $5.99 this project cost $10.99 to my door.  I thought the shipping was a little high but overall I am quite pleased and would definitely order another! The shipping was also really fast.  I didn't have to wait long at all for this to arrive.


I did want to mention that this pillow case is pretty large.  I have a standard queen size pillow and you can see there's still room so you could probably use this on a king sized pillow.  My daughter loves seeing her face on the pillow, it's so funny to watch her touch the pictures.

York Photo has a deals section on there website and while they don't have a code for the pillow case right now, there are codes for lots of other products including a blanket!  I might have to try that!  Keep in mind photo gifts like these make awesome Christmas gifts. Oh and as a new customer you also get some free prints which is always nice!

If you'd like to try out York Photo you can create a free account here. (Yup, that's my referral link!)

Tuesday, August 6, 2013

DIY Cell Phone Case


Ba-bling!  I'm not a terribly flashy person.  But there are some things that I just feel should be over the top.  For some reason, cell phone cases are one of those things.

If you have a phone other than an iPhone, sometimes it's hard to find a cool case for your phone.  In my case I have a Motorola Photon.  So what's the next best thing?  To make one yourself of course!


I got everything I needed for this project off Amazon.  I'm sure you could find the stuff elsewhere, but I love Amazon so I order everything off there.  You will need three things.  A clear case for your phone, some E6000 glue and a deco set.


There are a ton of cool deco sets out there in lots of color combinations.  And believe me you will get more than enough bling.  I have plenty leftover for another project! 

There are a ton of kits to choose from.  Here's some of my favorites: a black and red Betty Boop theme, an all pink Eiffel Tower theme, a pink and black Hello Kitty one, and finally a blue and pink Hello Kitty one. 

This is the process I suggest you use to make your case.  First before you start working on your project, make sure that the case fits your phone!  It would be really awful to finish it and then it doesn't quite fit right.  Next I did a dry run of the big pieces.  I didn't lay out all the little rhinestones but I wanted to get an idea of where I wanted the big bling and how much I could fit on the case.  Then I glued down the bigger items first.  And last I spread the glue on the case in small sections and applied the little rhinestones with tweezers.  I found this far more effective than putting the glue on the rhinestones and then putting them on the case (I tried that first).  It's much easier to glue the case and then apply the stone to that.  Plus this glue dries clear so no one will see it.  Then just let your case dry for 48 hours and it's set for use!

I get a lot of compliments on this case. It is super fun and way over the top.  Oh and it does make my phone weigh like double what it should, but it's totally worth it.

Wednesday, July 31, 2013

Green Stack Cards

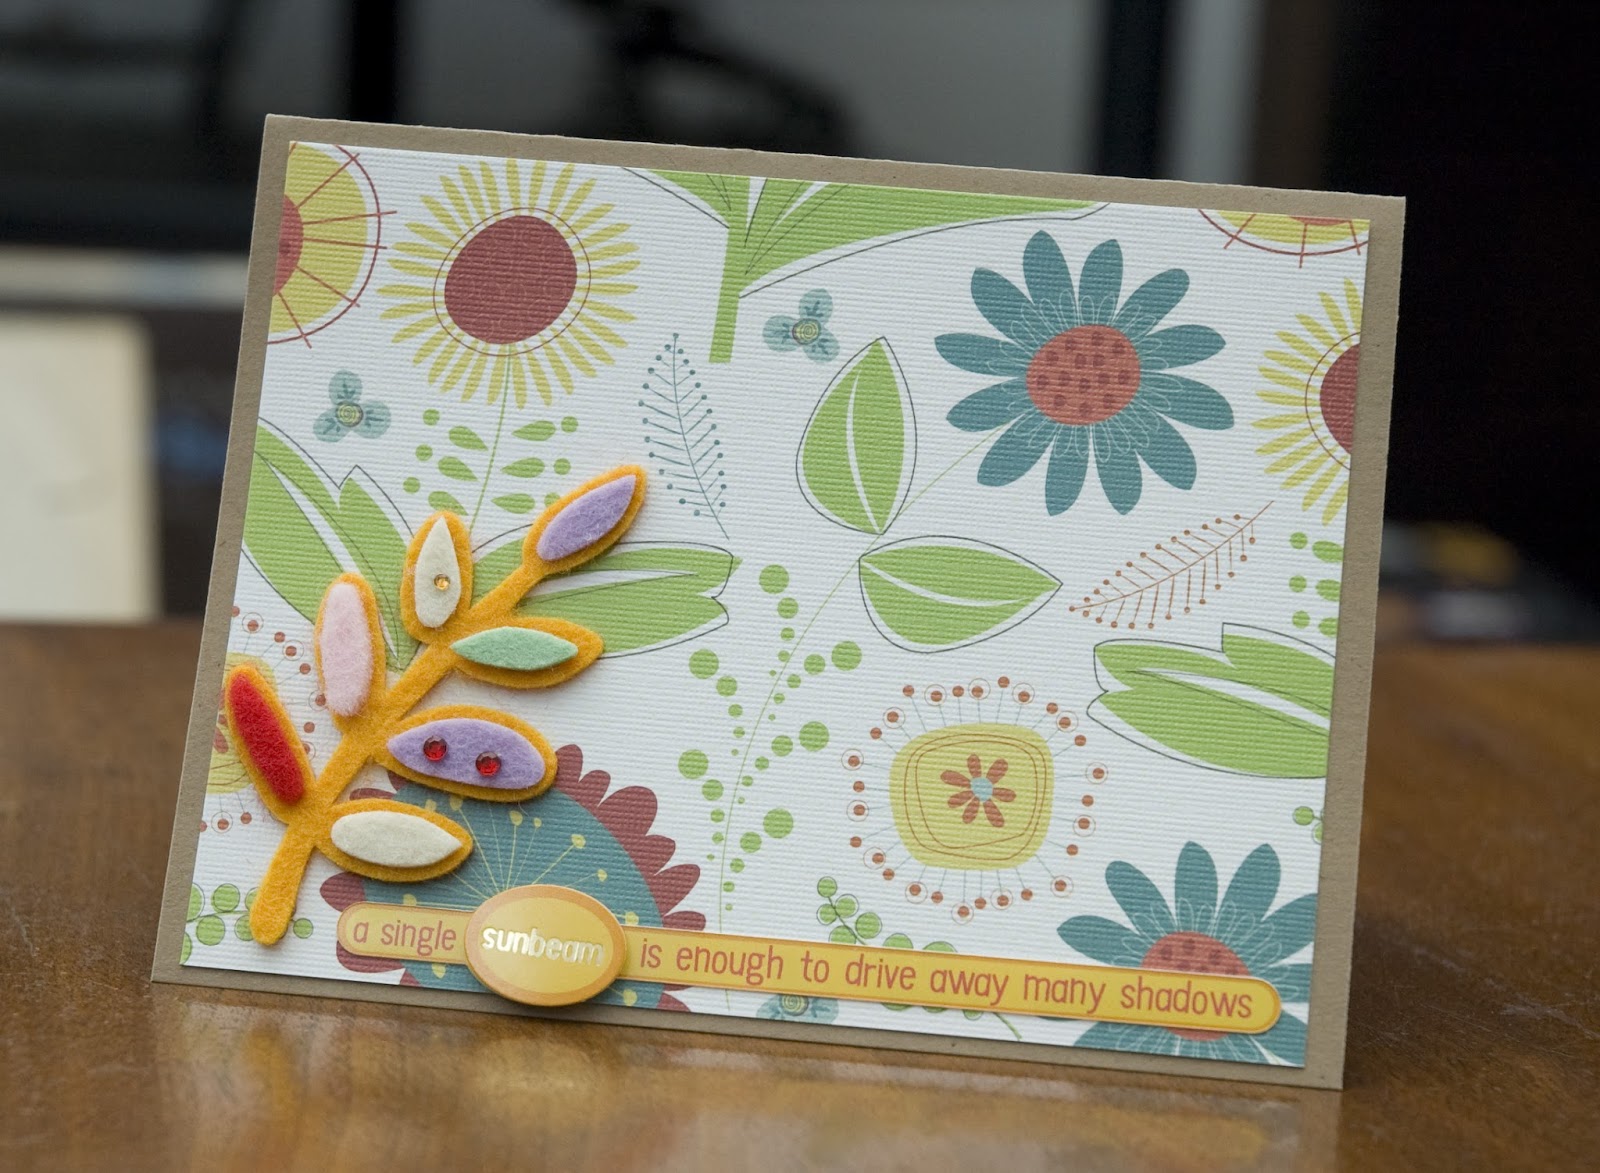
The DCWV Green Stack has to be one of my favorite paper stacks.  It's so versatile and simple.  It can be cute or classic.  I just love using it.  So I recently made a set of cards for a friend using it.  Here's what I came up with.

 I used a pack of cute little felties for these cards and some 3D saying embellishments.  The cardstock was just kraft paper cardstock, plain and simple.

 The papers in this collection are just so great!  I didn't really need to do much to these cards.

 A paper punch added a little bit of style to this card. 

 Another favorite paper, those cute little birdies. 

This final card I used strips from each of the patterned papers I used on the other cards.  I love how it turned out.  Still simple but totally fun too.

Thanks for stopping by!